Outdoor Furniture Repair: How to Fix a Vinyl Strap on a Lounge Chair
You know how it is, with all that wear and tear in the garden, sometimes patio furniture breaks. You have the choice of paying to get it repaired, throwing it away, or you could fix it yourself! Learn how to wrap a double vinyl strap in this step by step guide and repair your furniture on the cheap.
If your pool lounger or patio chaise lounge is missing a strap, you can order a vinyl replacement here or you could even cut one to size yourself. With over 50 vinyl strap colors to choose from, vinyl strapping replacement is a cost-effective way to make your outdoor pool patio and lawn furniture look like new. Sunnilands founder Jeff will show you how in this video.
What is a double wrap vinyl strap?
The double wrap is the process of wrapping a vinyl strap over the top of the frame and around it once to hide the rivet of the frame. Its a bit tricky to get used to but once you get the flow of it youll be fixing all your broken outdoor furniture with ease.
Tools & materials you will need: tape measure, vinyl to cut, or pre-cut replacement straps rivetsfor a double-wrap chaise, a pot with a lid full of boiling water, tongs & heat-proof gloves or similar, a block of wood, a drill, cutters or tin snips.
Time it will take: This is no more than a 10 minute job if you get that water boiling and ready to cook those straps right from the start.
Step 1: Remove the old strap
Pull off the old, broken strap until you have the frame with the empty holes underneath. If your lounger frame is a little dirty, nows your chance to give it a quick clean.
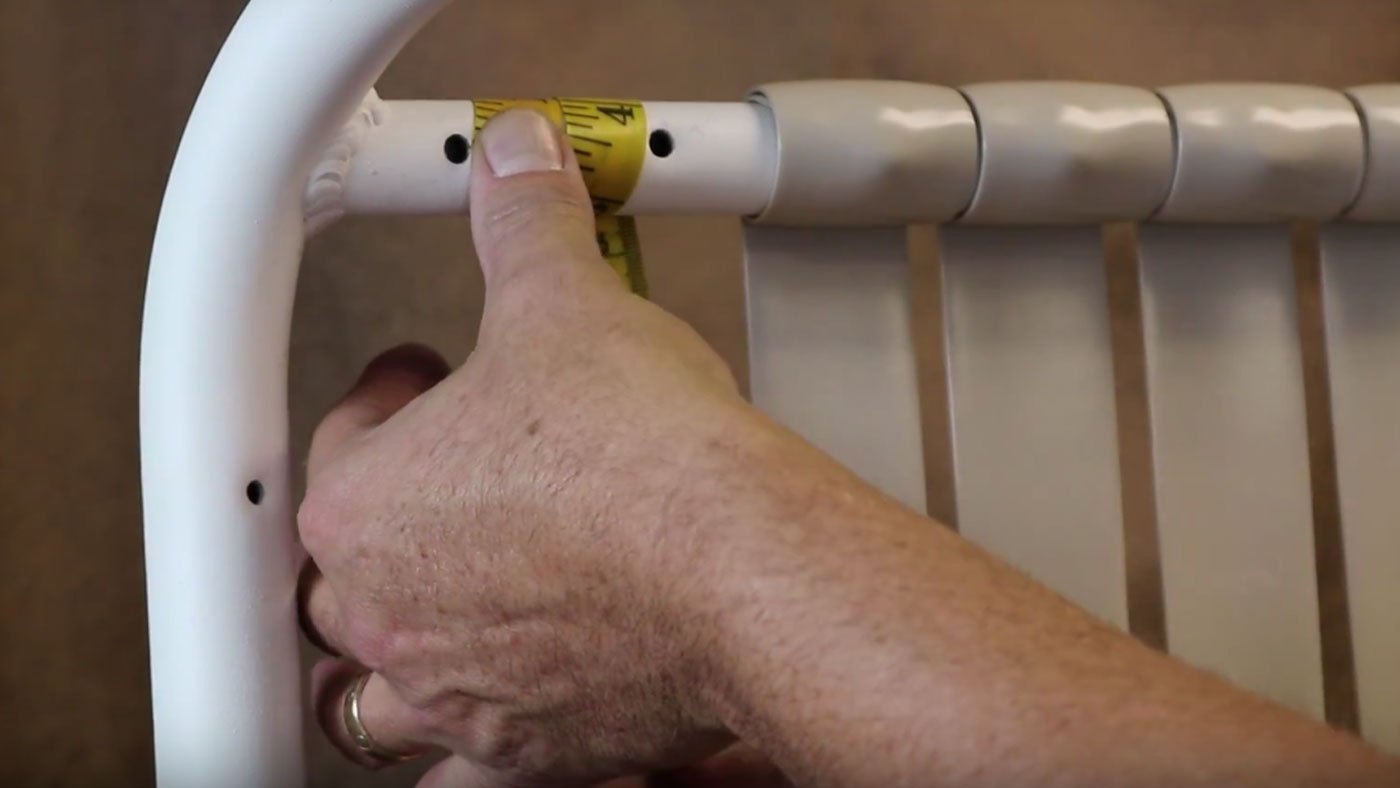
Step 2: Measure strap size
Hold your tape measure around the edge of one hole. Wrap your tape twice around the frame until it meets the edge of the second hole. Image. Then loop the tape measure around the other side of the lounger and wrap in a similar way. Pull it tight and measure the length.
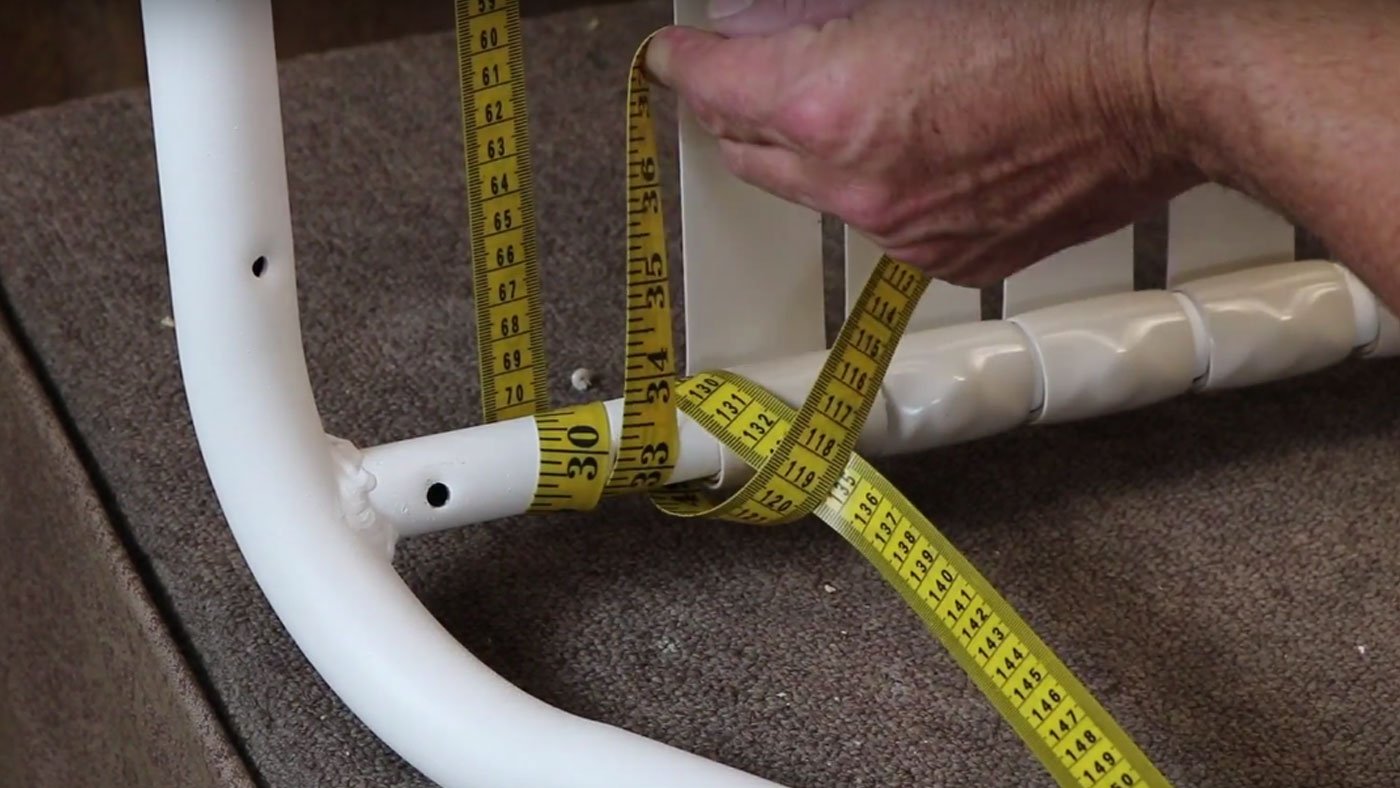
Now deduct 10%. We do this because the vinyl is stretchy and you want your straps to be tight around the chair. If we didnt deduct 10% and installed it, it would be sloppy and loose when you sat on it.
In Jeffs example the tape was 33 inches. Minus 10% will mean 33-3 =30.
Step 3: Make the straps
Here we need a few more items from our list including a piece of wood. This is just something to drill down into to make the holes into the straps. We also need a pair of cutters, or tinstrips, the rivets that we decided we need for our quarter inch hole and the vinyl strapping. We came up with a 30 inch measurement so were just going to lay this strap down at the 30 inch mark and cut it straight across with the cutters. And as we need two straps, we're going to repeat the process.
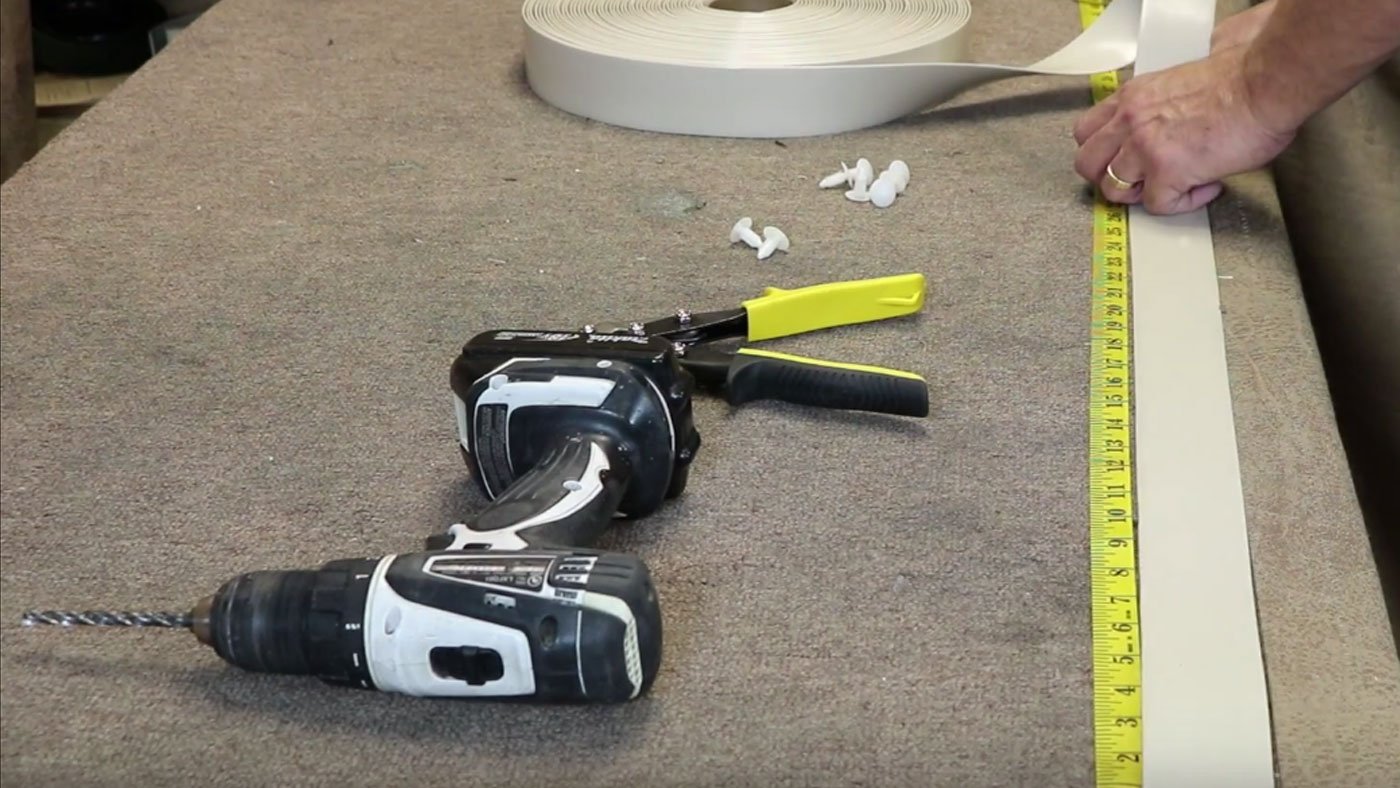
Now take the two straps and cut off the corners so they dont stick out when we go to turn them over. Snip off a small corner on both sides, on both straps.
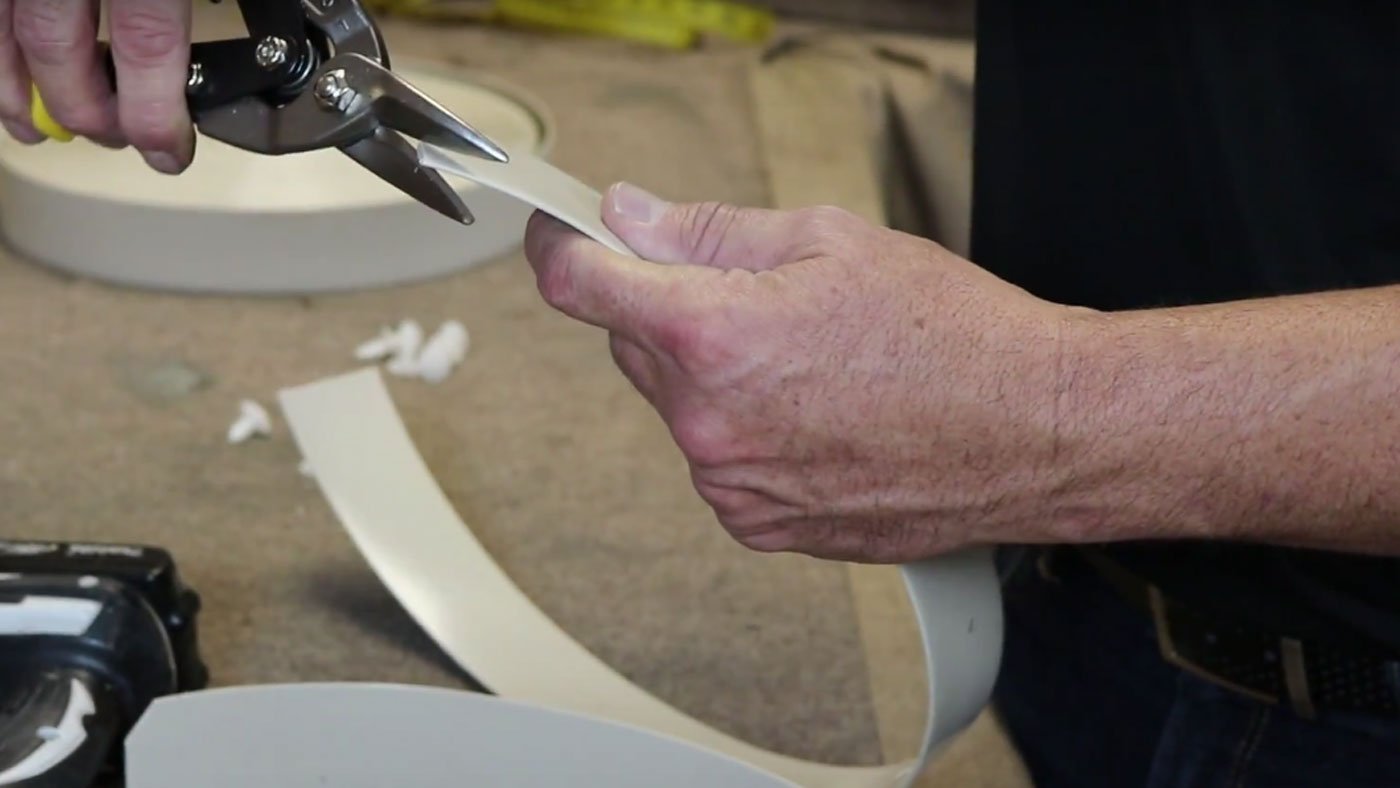
Then well lay them onto the block of wood, keeping them together and keeping our hand away from the end of the drill. Were going to go about a quarter inch away from the edge of the strap and drill a quarter inch hole into the strap. Just like the picture below.
Do be careful when you have that drill near your hands, be sure to push down and away from yourself. Repeat on the other side.
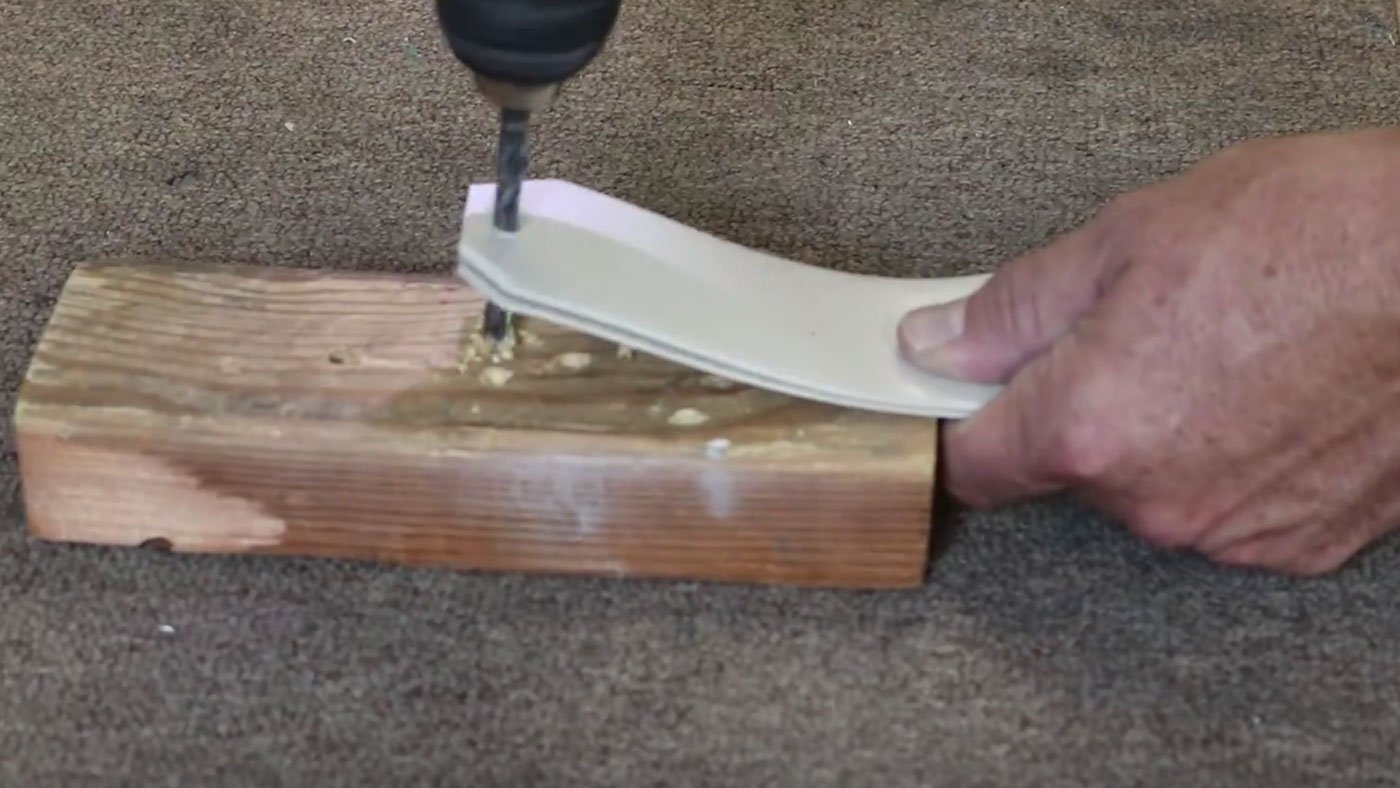
Now were going to take our rivets, these 5/11 _ inch rivets and push one in each hole. These rivets are super strong and great to use because you dont have to worry about them coming off the furniture later on.
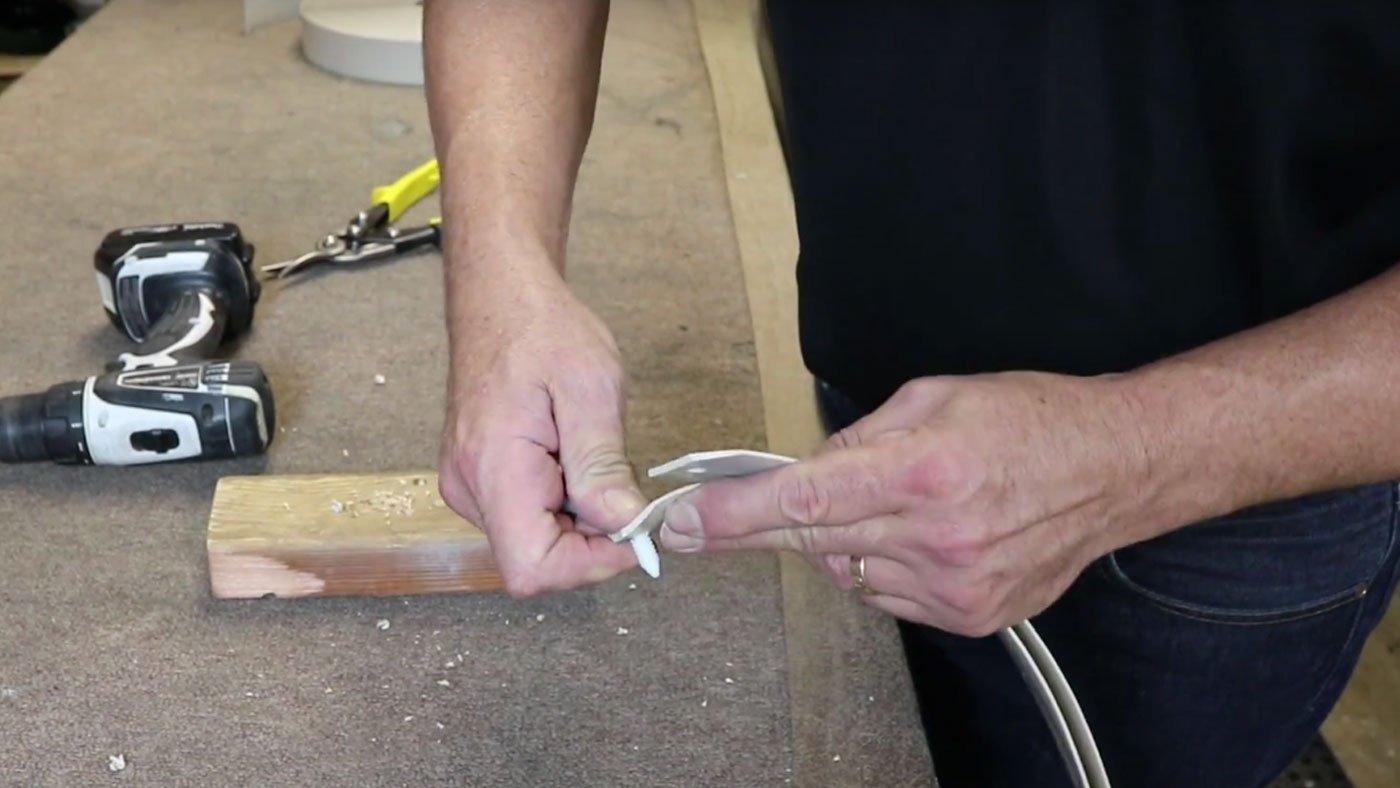
Tip: I like to put the rivets on the straps on before I heat them, that way Im not fumbling with the straps when theyre hot later on.
Now put the straps into a boiling pan of hot water and wait for them to cook for 3-4 minutes. The strap will then become super pliable and easy to work with. If you tried to do this without heating the strap you will have a real hard time about it!
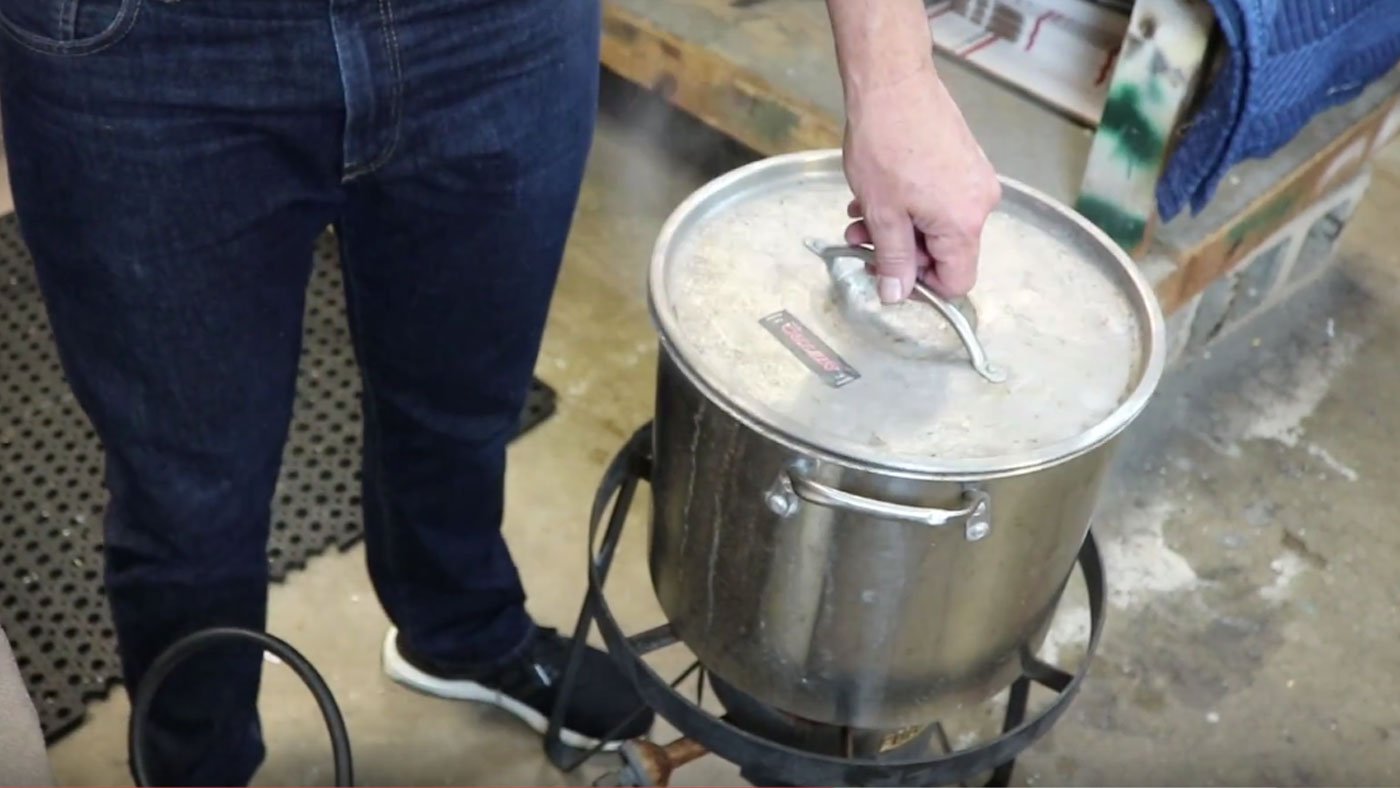
Note: If you bought pre-cut straps you will still need to put them in hot water.
Step 4: Install the straps
Fish out the straps with a pair of tongs and heat proof gloves if you have them if you do it with bare hands it will be too hot to handle.
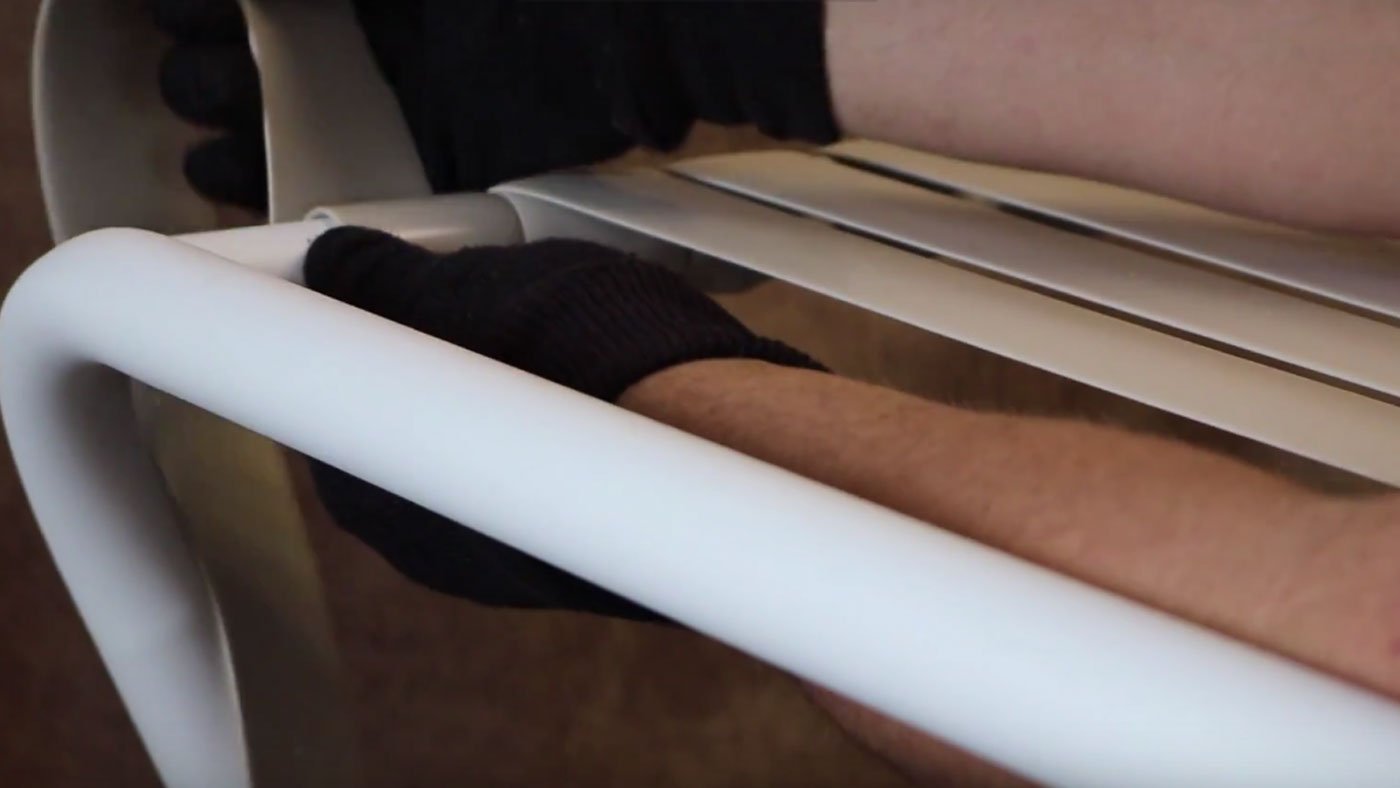
Plug the strap in beneath the frame by putting the rivet in the hole and wrap it around one time, pulling it snug.
Tip: It always helps to leave a strap on the frame next to it to use as a guideline. Even if its broken, you can take it off once youve got the hang of it.
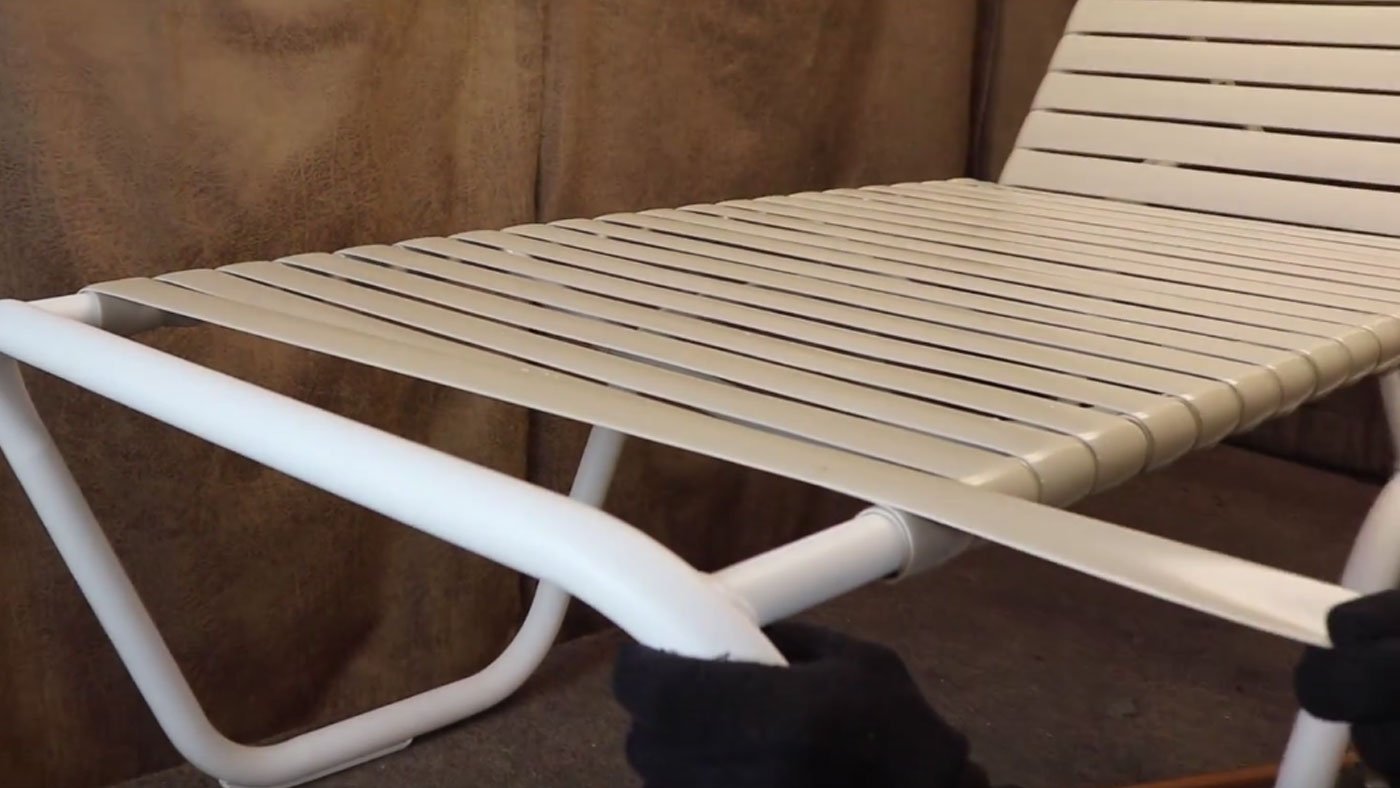
Now what I like to do here is pull it a good 10 inches past the furniture and on top of another strap as it kind of grips itself a little. Then Im going to wrap this over the frame and get this over the hole and then let this go and now I can adjust the strap.
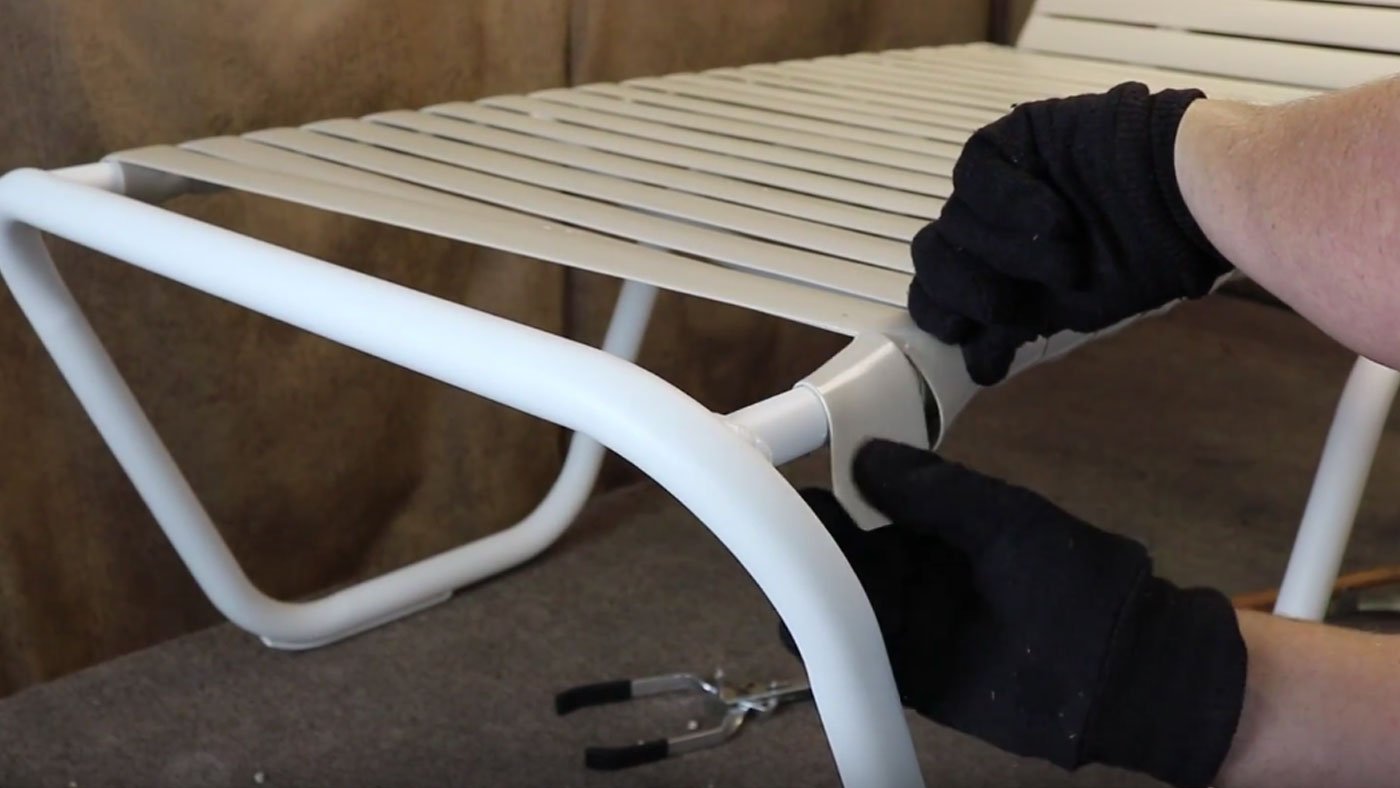
Note: The tricky part is trying to hold the strap while you wrap it around the second time, before you plug in the second rivet. But once you have that you can just give it a tug, and pull it on top where it needs to be.
And thats it! Let us know how you got on with your project. If you need any parts, any rivets,pre-cut straps orstrap vinyljust click the links.
