How To Install Stem Glides
There’s one common problem that all swivel rocker owners will complain about after a few years… that is the screeching noise your rocker tends to make when the stem glides are worn out and you try to move it around. Today we’re going to show you how to fix this common problem in a few simple steps.
Lets get started!
Get The Right Tools
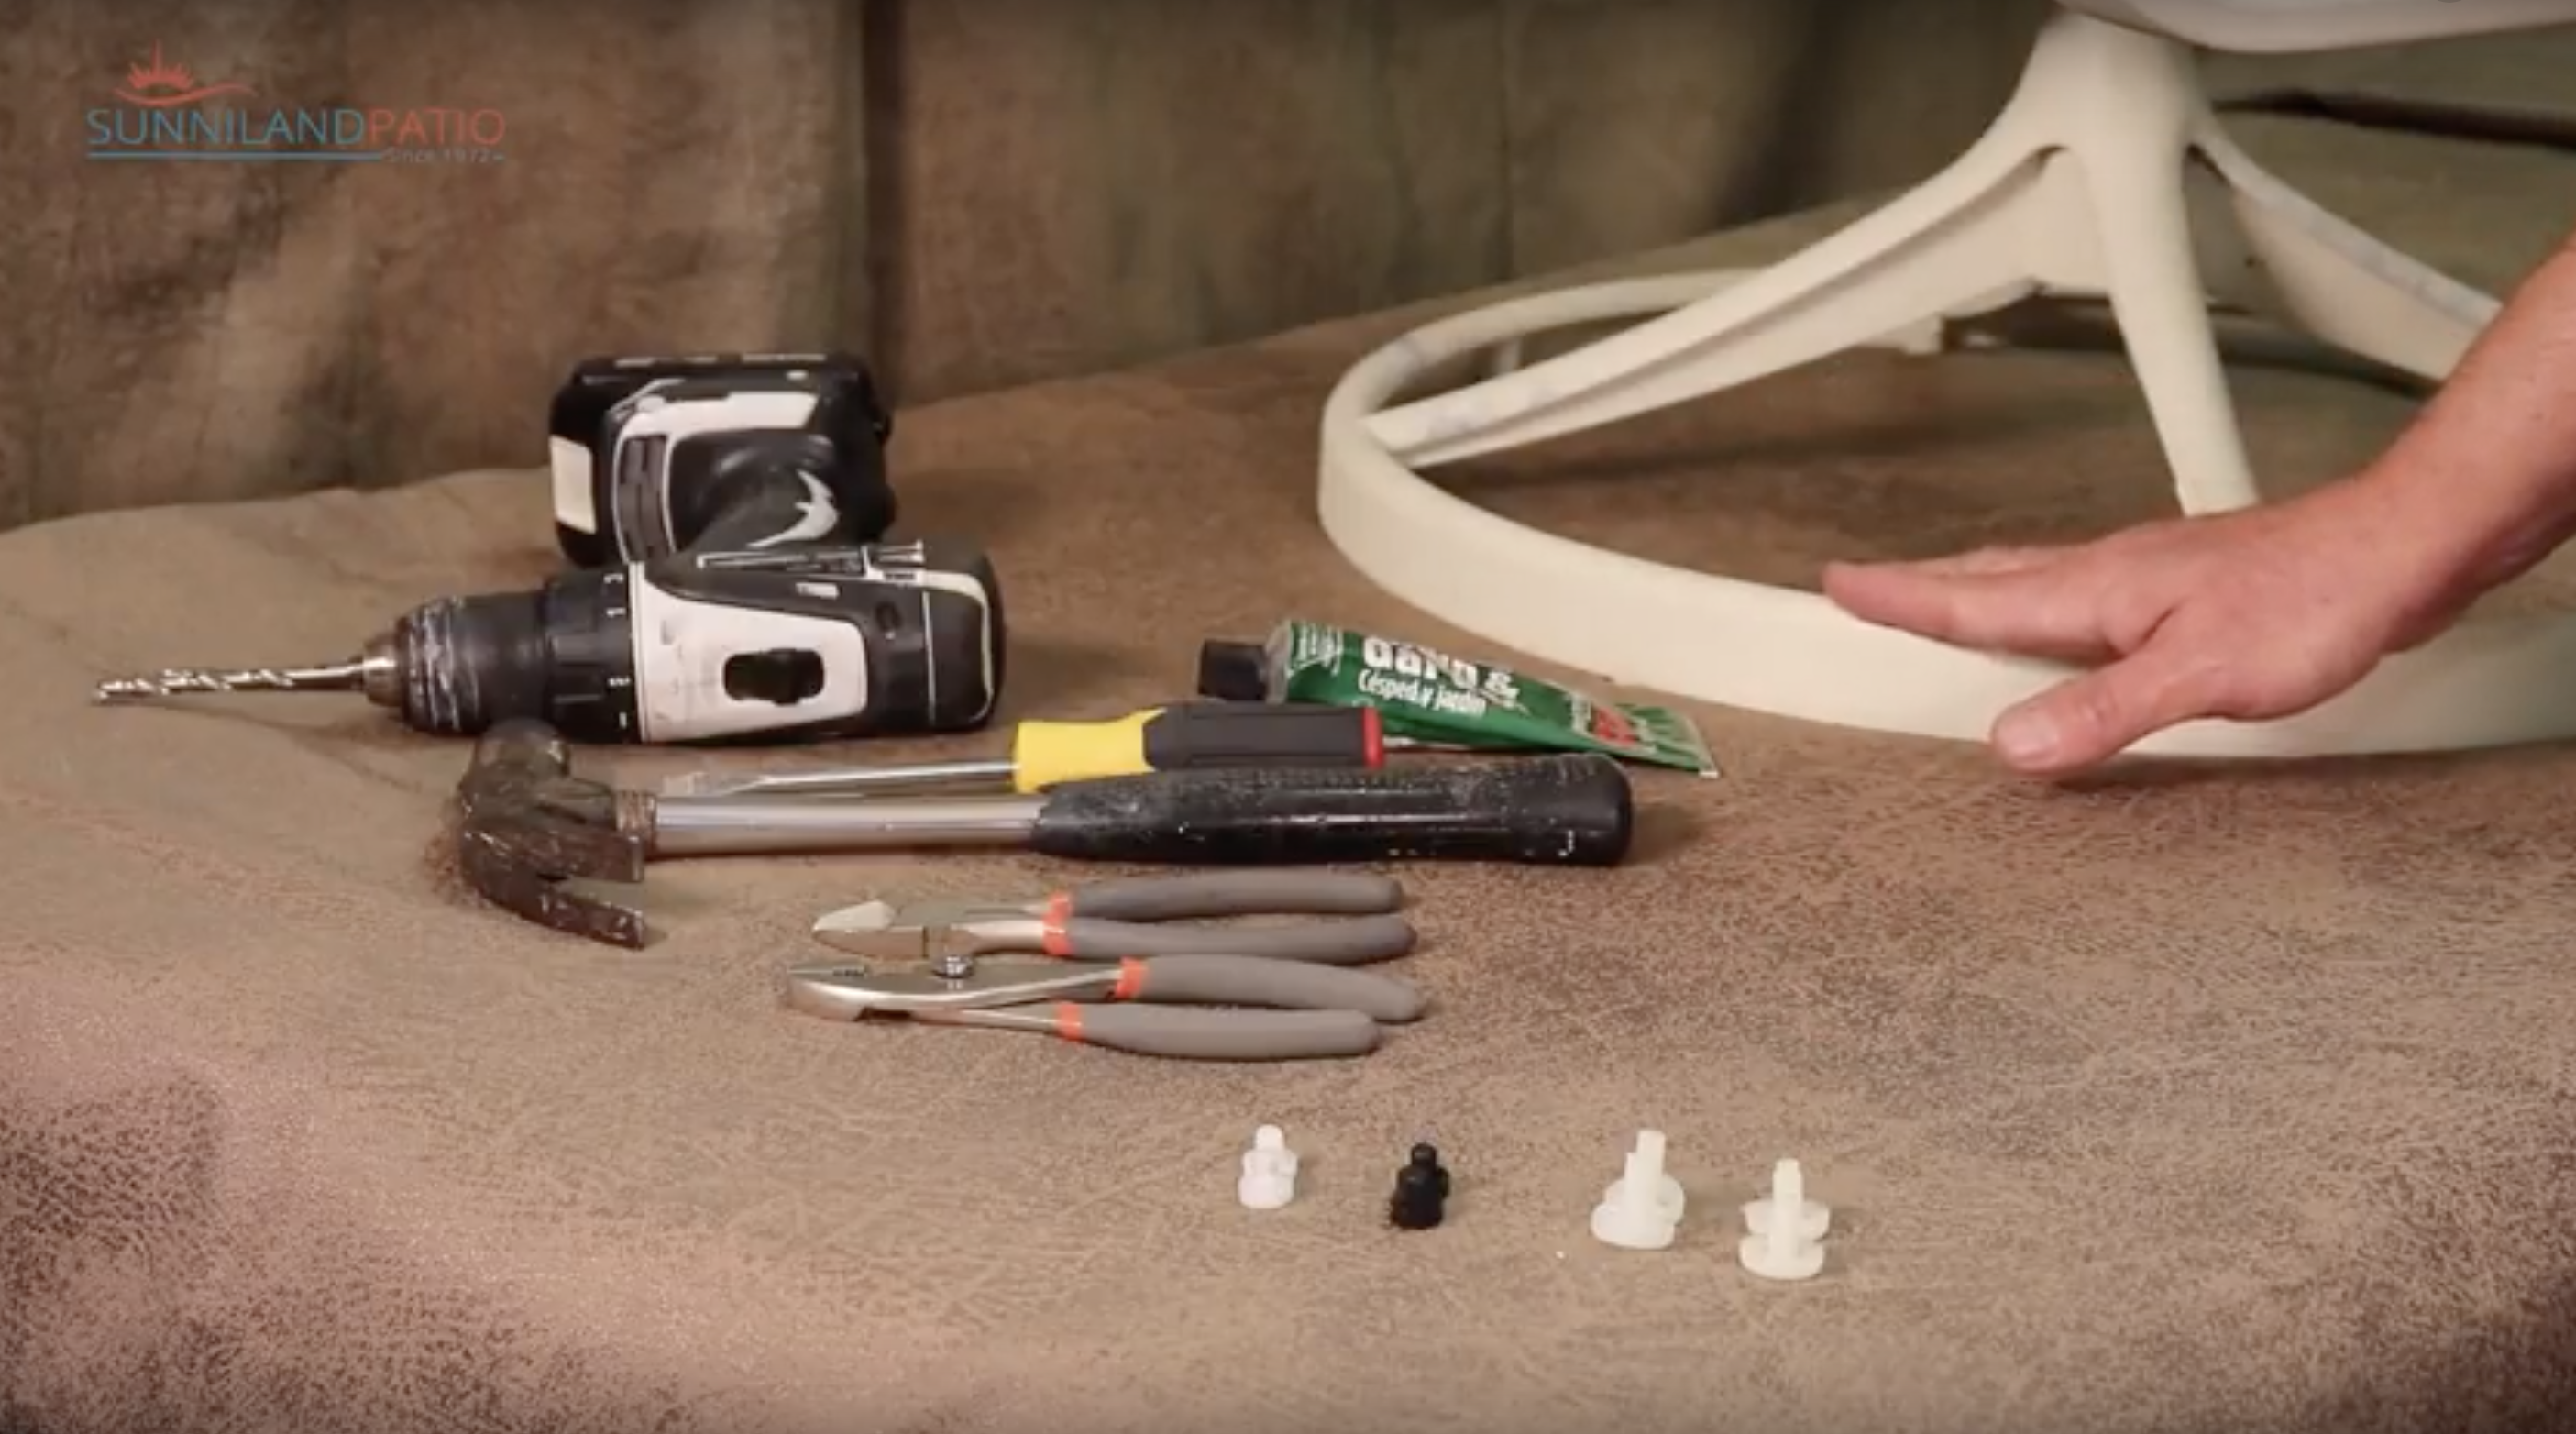
Lets start with getting the right tools for your project. Youre going to need stem glides, a flat head screw drivers, a hammer, a pair of pliers and a drill.

Replacing the Stem Glides
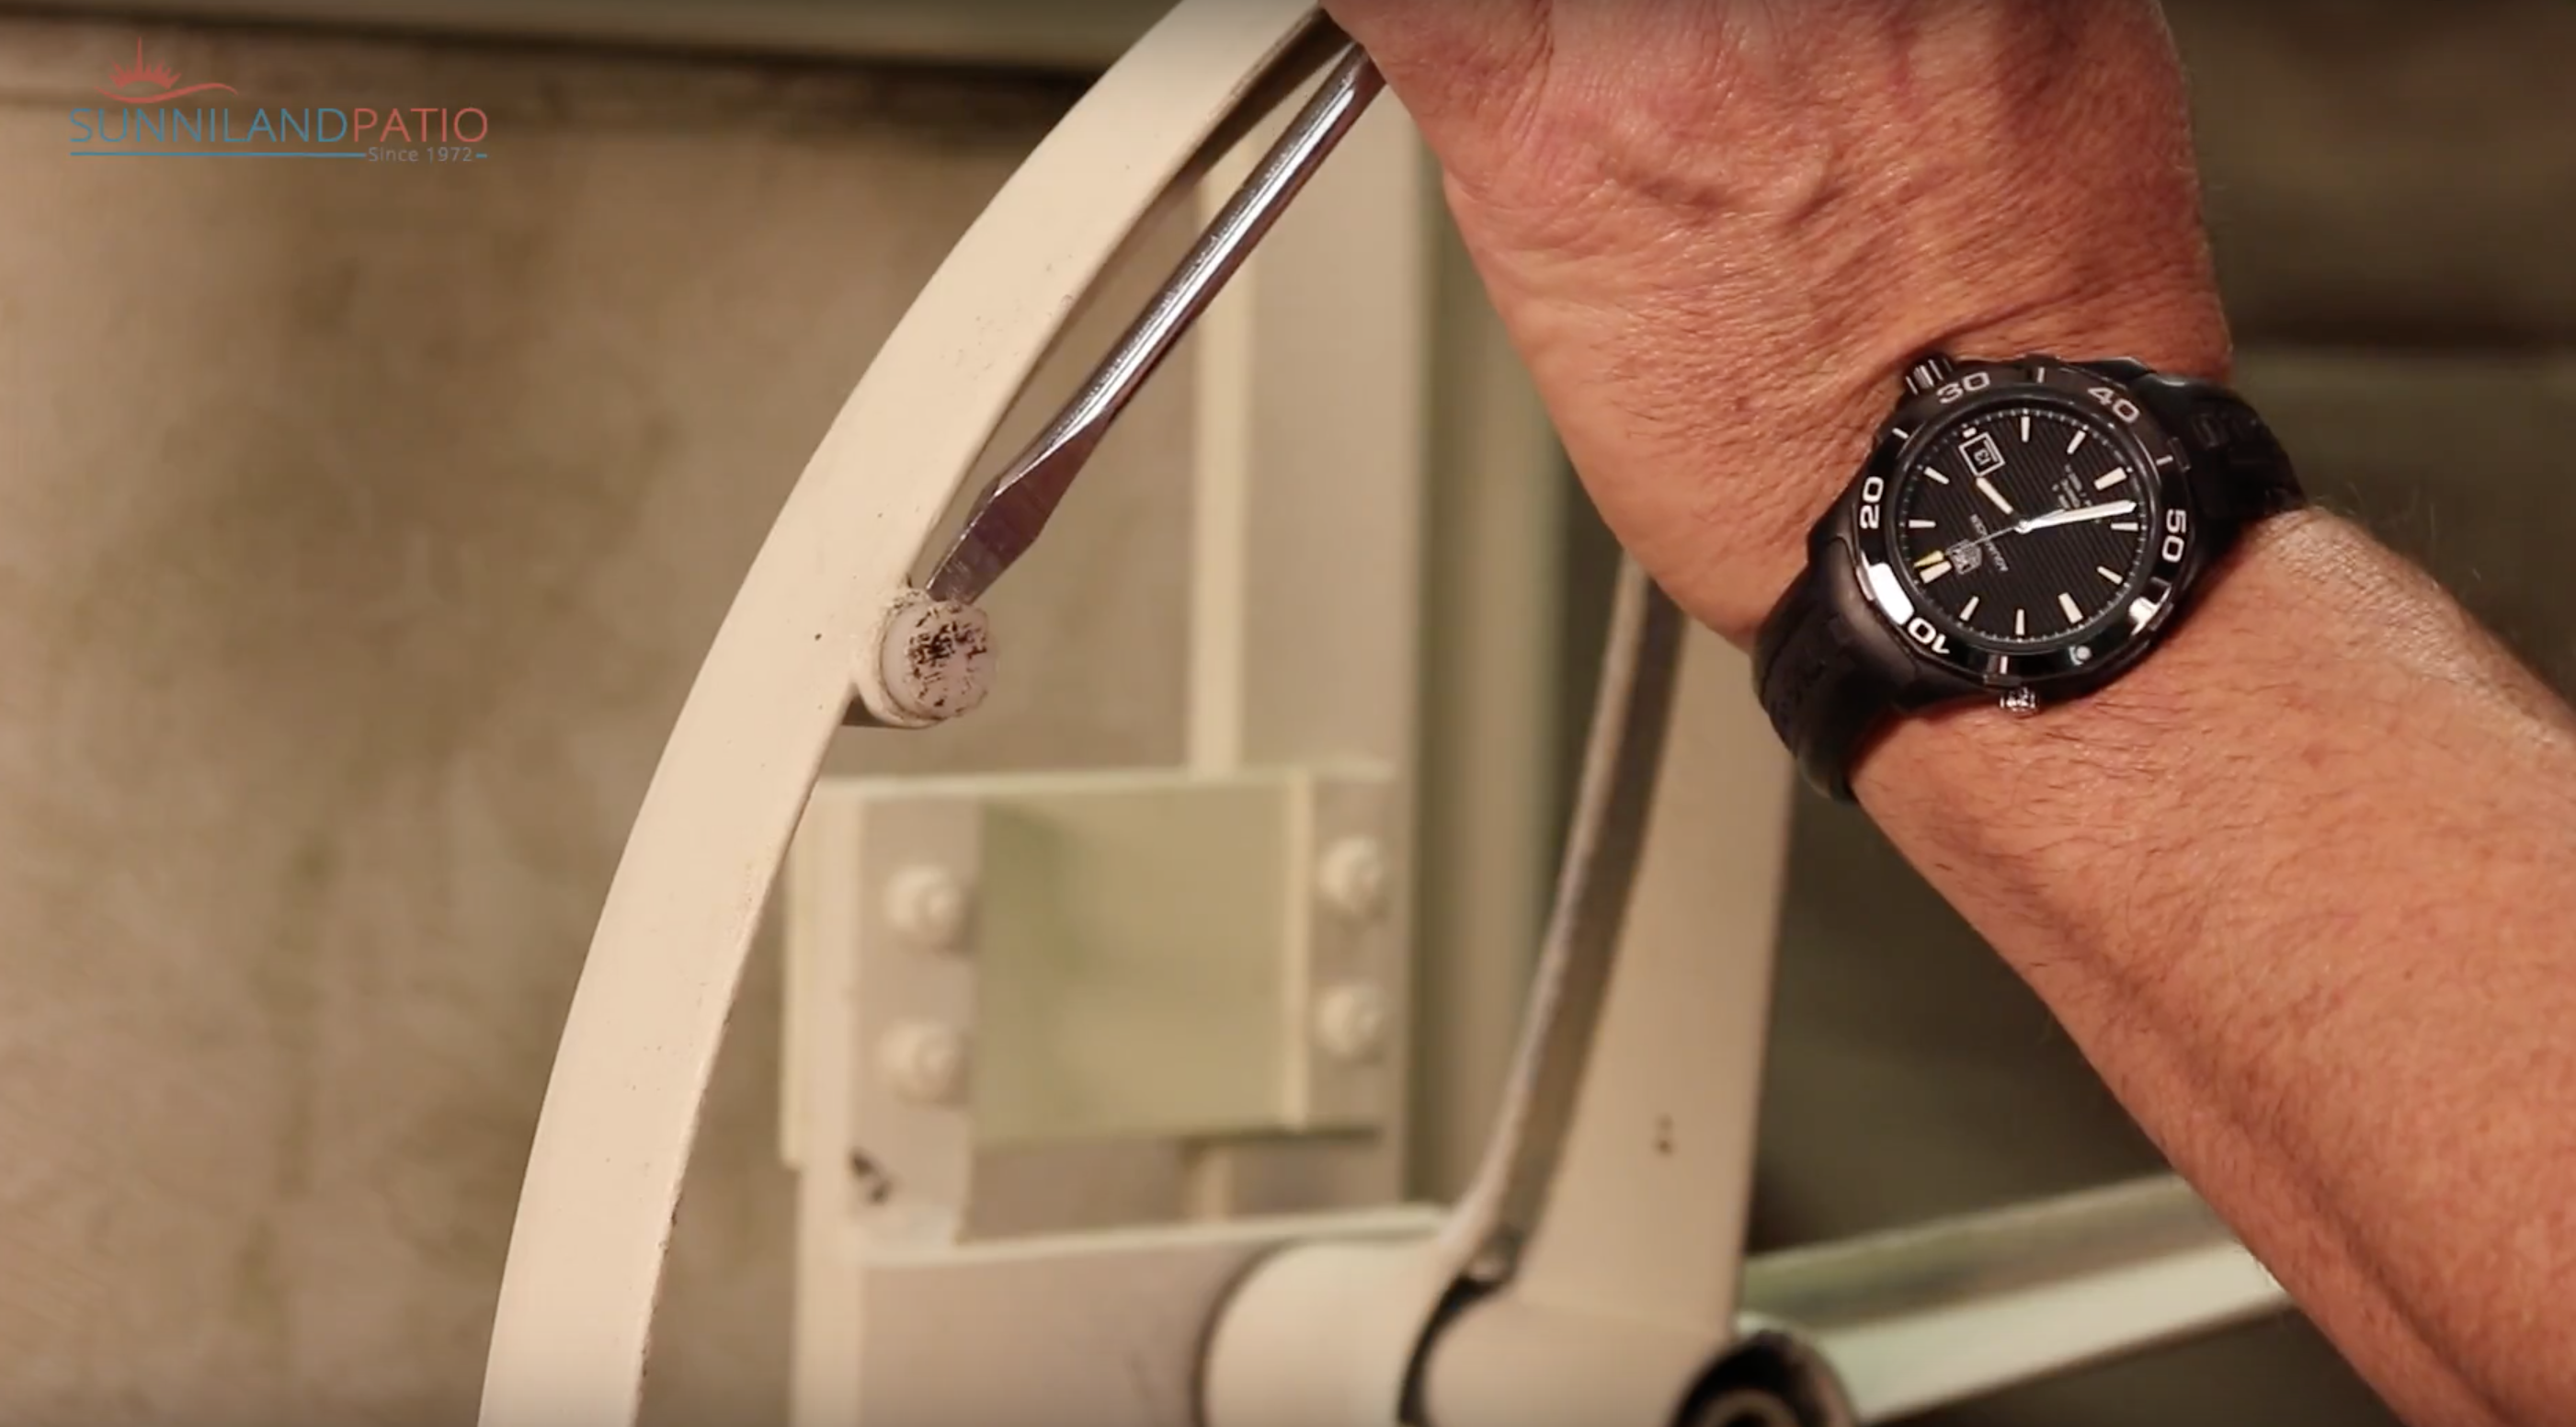
Changing the stem glides is very easy, the trick is in cleaning out the old wholes in order to prep for the installation and installed the new stem glides correctly. A lot of times, the old stem glide will be so worn out that its hard to take out. If this is the case, and if there is enough stem glide to still grab you can pull it with a pair of pliers, twist around the glide until it comes off. If its a bit more stick, then use a flat head store driver and a hammer in order to lose it up. Other times the old glide will break inside of the frame, if this happens simply take your 15/64 drill bit (best side for the stem glide socket), and drill straight on the socket to move around the old part of the stem glide until it comes off. Once you have removed the old stem glide, its time to install your new glides.

Note: be sure to purchase around 20 stem glides for your rocker chair, since it needs around 7-8 stem glides and you always want to keep extra for when they come off or wear out again.
Install the Stem Glides
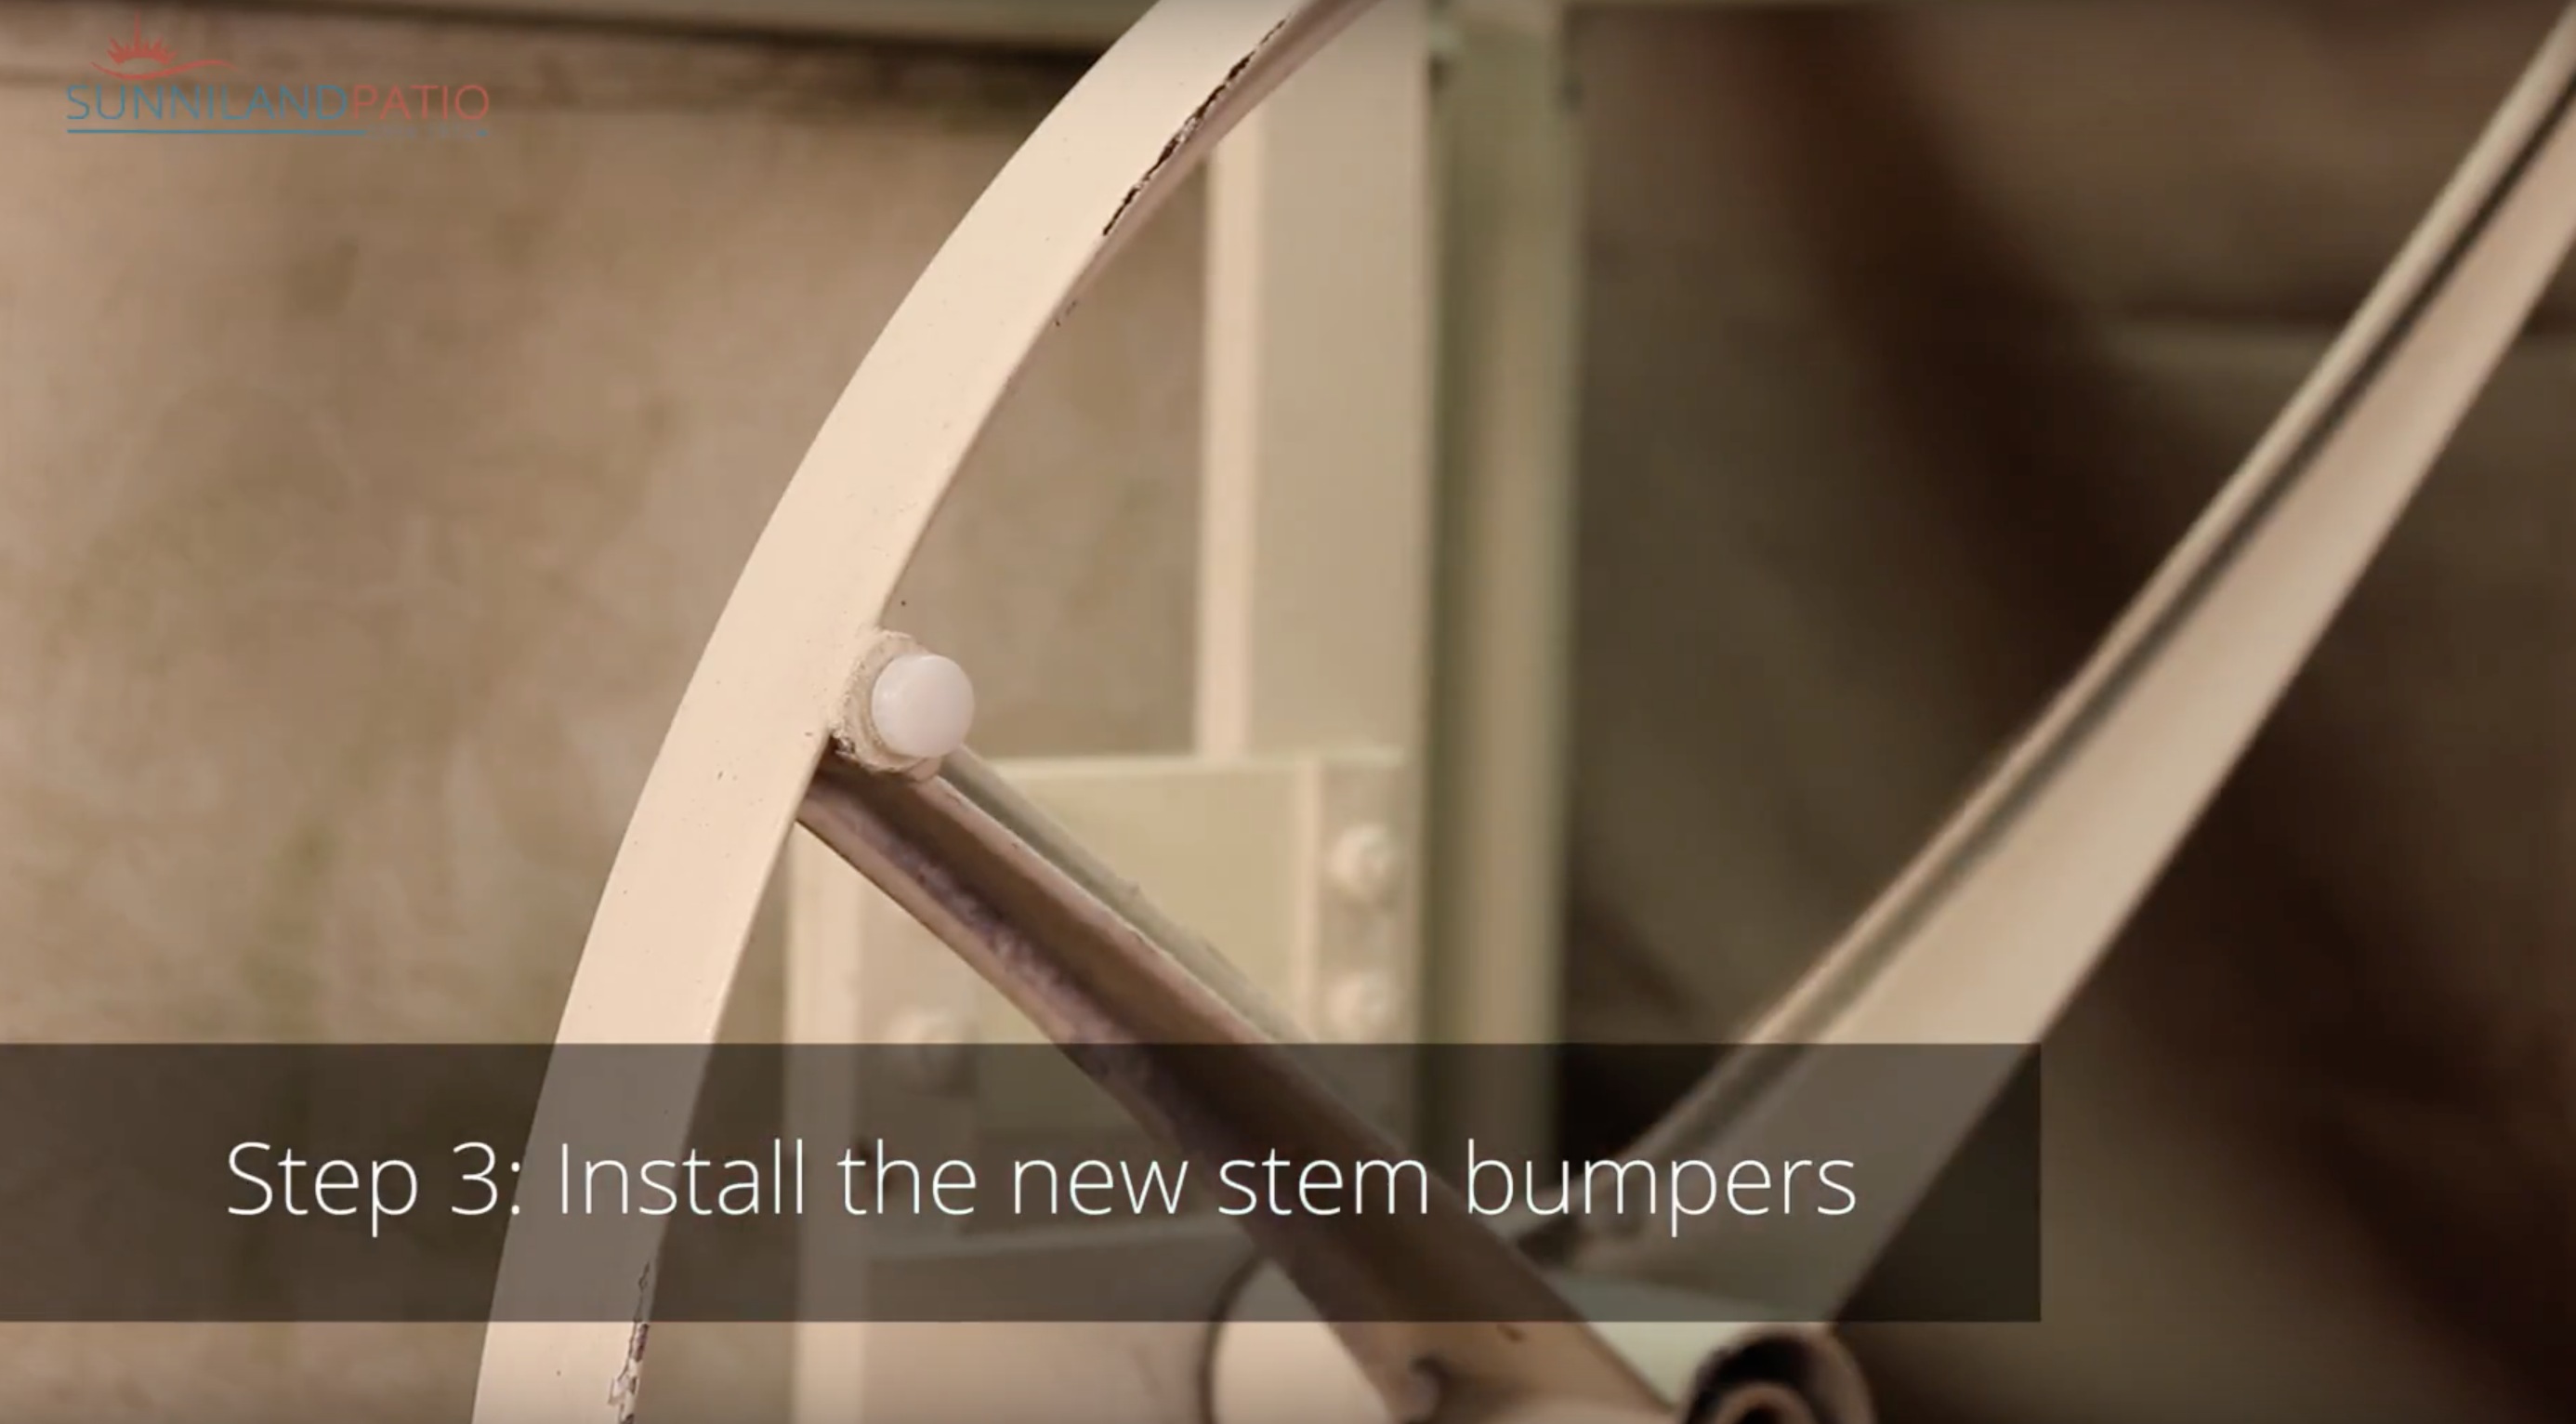
The installation process is very simple, just place the new stem glide on the whole, and tap it with a hammer to tighten it up. Repeat this process all around the bottom of the swivel rocker to replace all other stem glides and you are set.

If you need stem glides heres where you can get them: https://www.sunnilandpatio.com/collections/stem-bumpers
And if you have any questions just comment below or send us an email to sales@sunnilandpatio.com
Happy Fixing!
